You can turn a photo from your phone into a small sticker with Fun Print, but the paper matters: the app does not make ordinary thermal paper adhesive. You need a compatible mini printer and self-adhesive thermal paper in the correct width for that model.
The result is normally a black-and-white thermal sticker. It works well for journals, labels, memory books, study notes, storage boxes, and simple decorative projects.
What You Need
- The Fun Print app on iPhone or Android
- A compatible Fun Print mini printer
- Self-adhesive thermal paper approved for the printer’s width and feed path
- Bluetooth and photo permissions enabled on the phone
- A photo with a clear subject and good contrast
If this is your first print, complete the Fun Print setup and Bluetooth guide before loading sticker paper.
1. Check the Sticker Paper
Confirm the paper width and roll diameter in the printer manual or model guide. Do not force a roll that is too wide, and do not use ordinary office labels unless the printer manufacturer identifies them as compatible.
Adhesive thermal rolls normally have:
- A heat-sensitive printable face
- A removable backing
- Adhesive that is exposed only after peeling the backing
Load the roll in the same feed direction described for your printer. If the first test is blank, the printable side may be facing away from the thermal print area.
For general loading and storage advice, see the continuous thermal paper guide.
2. Connect the Printer in Fun Print
Turn on the printer, enable Bluetooth, open Fun Print, and select the printer from the connection screen inside the app. If another printer app is open, disconnect it first so it does not occupy the Bluetooth connection.
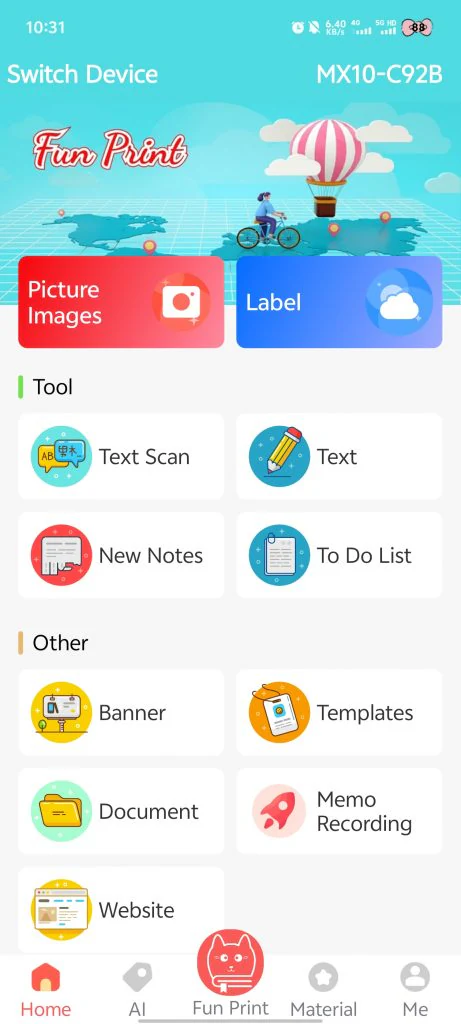
3. Select a Photo from Your Phone
Open Picture Print, Photo Images, or the equivalent photo tool. The label can vary by app version. Choose a photo from the phone library and allow access when iOS or Android asks for permission.
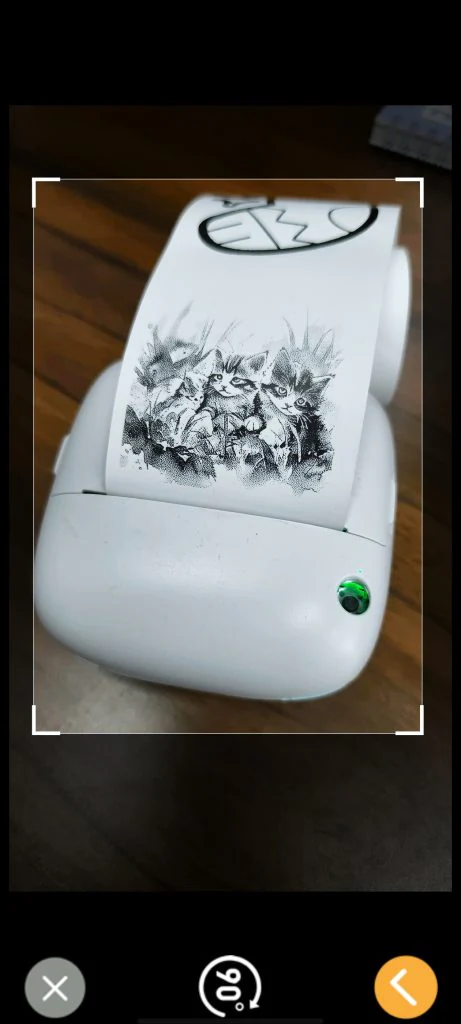
4. Crop for a Small Sticker
Zoom in on the main subject and remove unnecessary background. Faces, pets, icons, line art, and objects with strong outlines usually work better than wide scenes.
Keep important details away from the preview edges so they are not clipped by the paper width.
5. Prepare the Black-and-White Preview
The printer converts the image into thermal dots rather than color ink. Before printing:
- Brighten dark shadows.
- Increase contrast when the subject blends into the background.
- Use an outline or image mode if it makes the subject clearer.
- Start with medium density and adjust after one test sticker.
Very high density can turn hair, clothing, or backgrounds into solid dark areas. Very low density can make faces disappear.
6. Print, Cut, and Apply
Check the preview and paper size, then send the job to the printer. Let the paper feed without pulling it. After printing:
- Tear or cut along the printer’s edge as instructed for the model.
- Let the print cool briefly.
- Peel the backing from the adhesive paper.
- Apply it to a clean, dry surface.
Thermal images can fade with heat, sunlight, friction, or long-term storage. Avoid placing important keepsakes on hot surfaces or in direct sunlight.
Sticker Printing Problems
The Sticker Prints Blank
Reload the roll so the heat-sensitive face points toward the thermal print area. Test with a small image before printing a full design.
The Photo Is Too Dark
Reduce print density, brighten the source image, or select a photo with a simpler background.
The Paper Does Not Stick
Confirm that you loaded self-adhesive thermal paper rather than a standard thermal roll. The adhesive is part of the paper; it is not added by the app or printer.
The Image Is Cut Off
Choose the correct paper width, reduce the image scale, and leave a small margin around the subject in the preview.
The Paper Jams
Switch off the printer before removing the roll. Check that the paper is flat, centered, and within the supported width. Do not pull adhesive paper backward through the print path.
Frequently Asked Questions
Can Fun Print turn any photo into a sticker?
Fun Print can prepare and print a selected phone photo, but a physical sticker requires compatible adhesive thermal paper. Image quality is best with clear, high-contrast subjects.
Are Fun Print photo stickers in color?
Compatible mini thermal printers normally make black-and-white stickers. They do not reproduce the phone photo’s original colors.
Can every mini printer use sticker paper?
No. Paper width, roll size, sensor design, and feed path vary by model. Check the model-specific printer guide before using adhesive paper.
Should I edit the photo before opening Fun Print?
It can help. Cropping, brightening shadows, and increasing contrast in the phone’s photo editor can produce a clearer thermal sticker.
For a non-adhesive mini photo, follow the phone photo printing guide.