Mac Driver Installation & Printer Setup Guide
Getting your A4 printer working on macOS for use with FunPrint requires installing the proper drivers and establishing the connection through System Preferences. This comprehensive guide will walk you through each stage of the setup process.
1. Downloading the Mac Driver
To begin, you’ll need to obtain the macOS-compatible printer driver:
- Navigate to the official driver download portal
- Locate the macOS driver package
- Download the compressed driver file to your computer
- Extract the archive once the download completes
Driver Download Link:
https://cn.yintb.com/driver/mac_driver.zipExtract this file to a convenient location on your Mac before proceeding with installation.
2. Installing the Driver on macOS
Step 1: Initiate the Installer
- Open the extracted driver folder
- Locate the “MacLiYinPosPrinterDriverInstall.mpkg” file
- Double-click the installer package
- A security prompt will appear about an unidentified developer
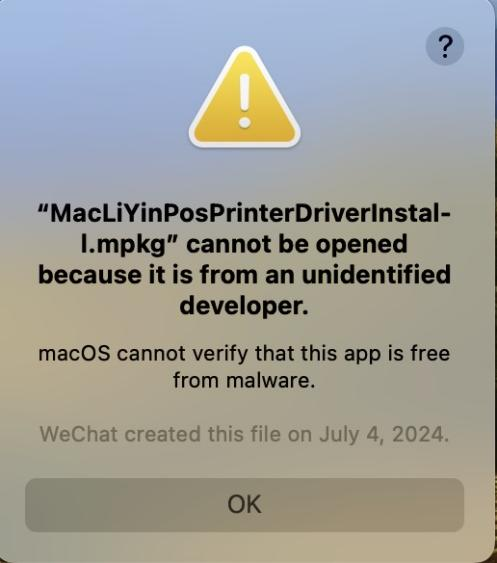
Step 2: Approve Through Security Settings
- Click “Cancel” on the security dialog to close it
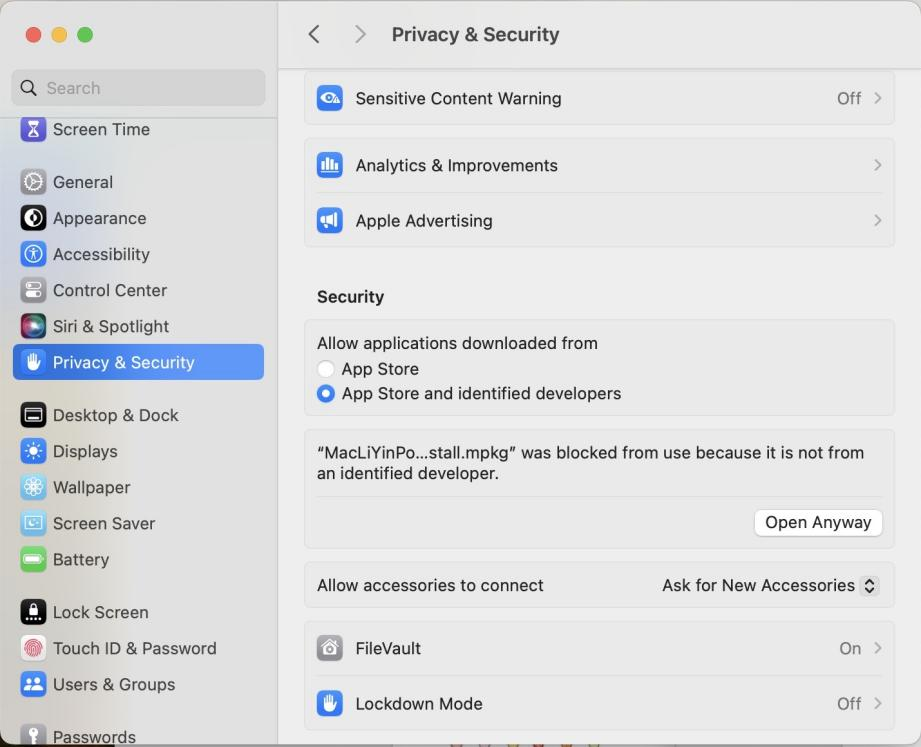
- Open “System Preferences” (or “System Settings” on newer macOS versions)
- Navigate to the “Security & Privacy” section
- Scroll to the bottom where you’ll see “MacLiYinPosPrinterDriverInstall.mpkg” with a blocked message
- Click “Allow” or “Open Anyway” to proceed
Step 3: Grant Installation Permission
- A new installation dialog will appear
- Review the security prompt carefully
- Click “Open” or “Continue” to authorize the installation

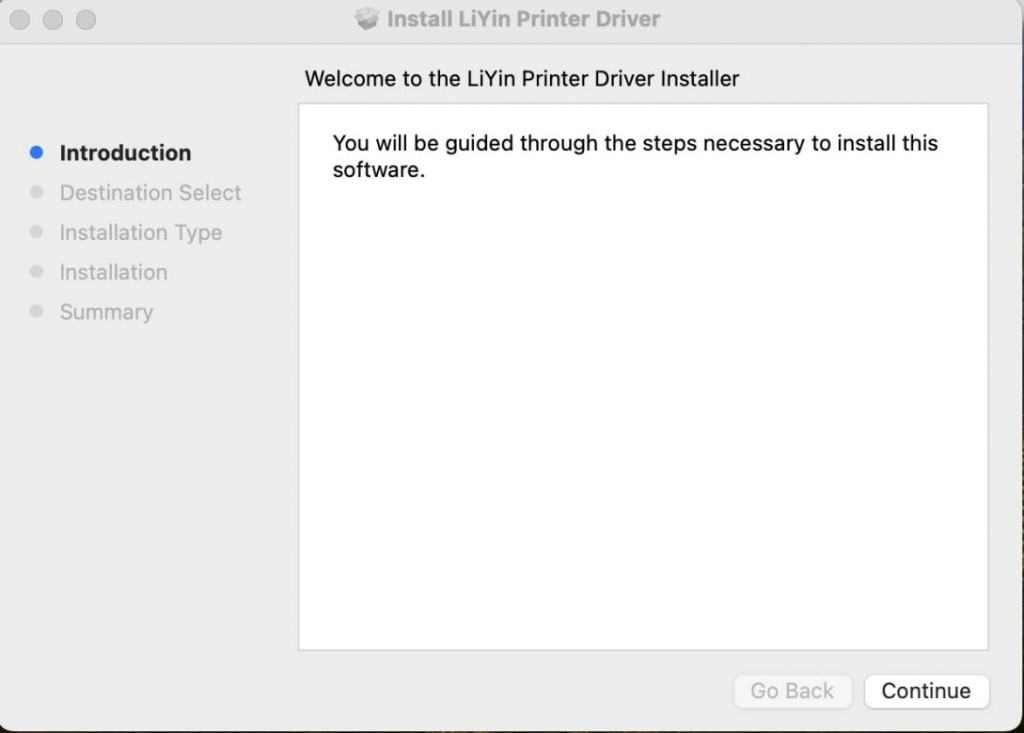
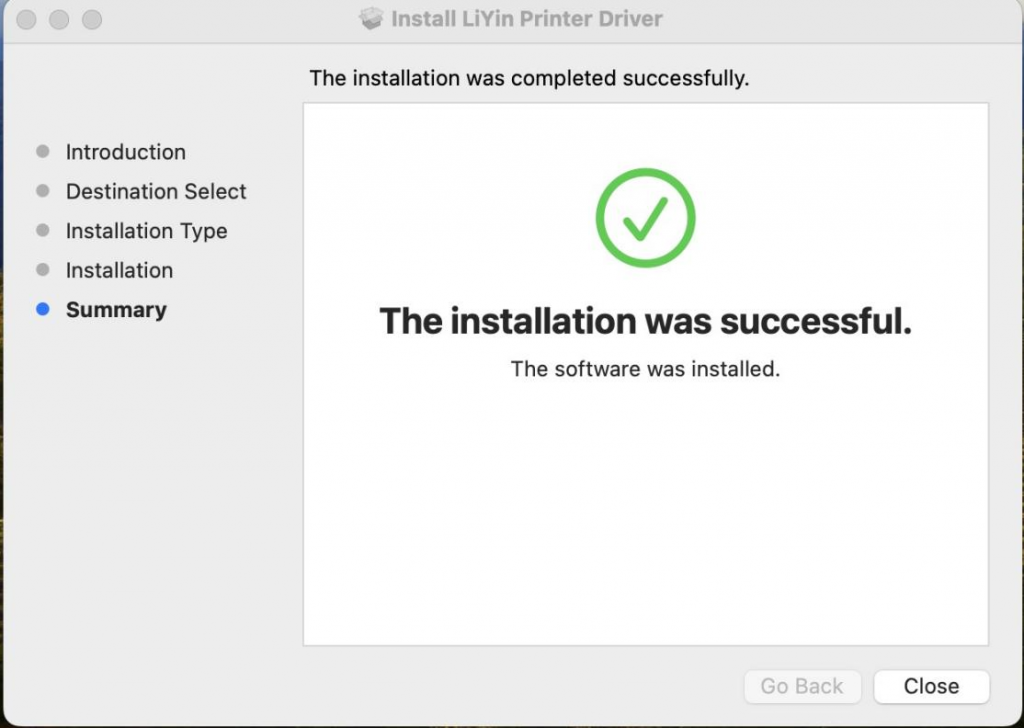
Step 4: Complete the Installation
- Click “Continue” on the installer welcome screen
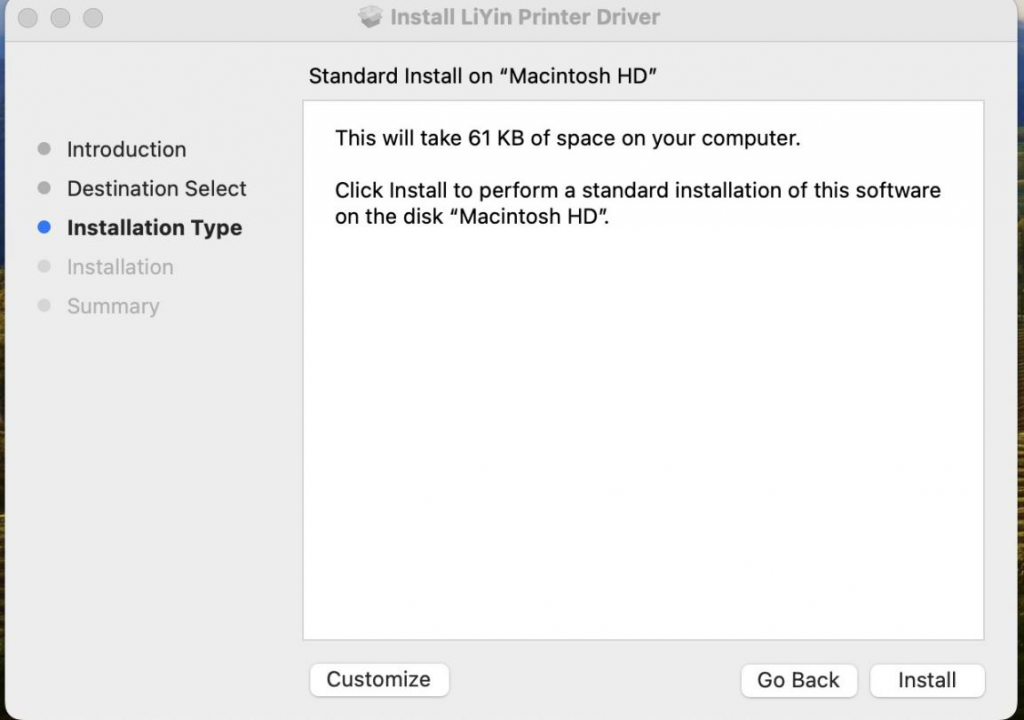
- Review the installation information and requirements
- Select your destination drive (typically “Macintosh HD”)
- Click “Install” to begin the driver installation process
- The system will copy files and configure your printer driver
- Once complete, click “Close” to finish the installation
3. Adding Your Printer
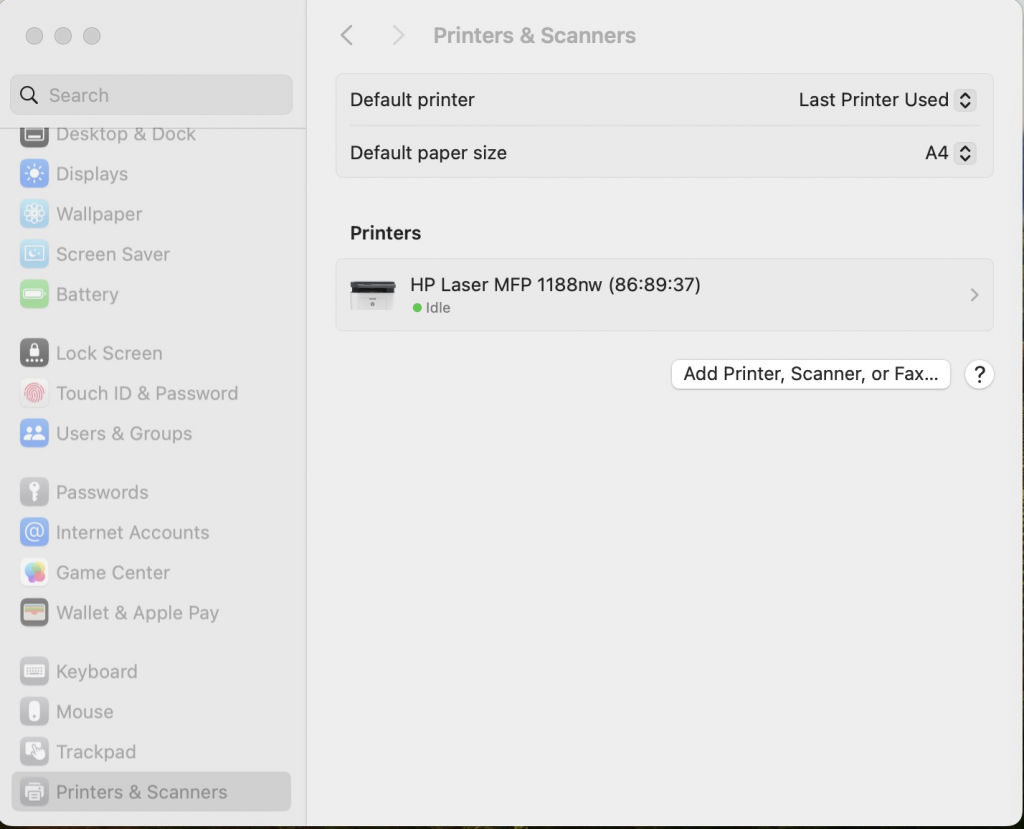
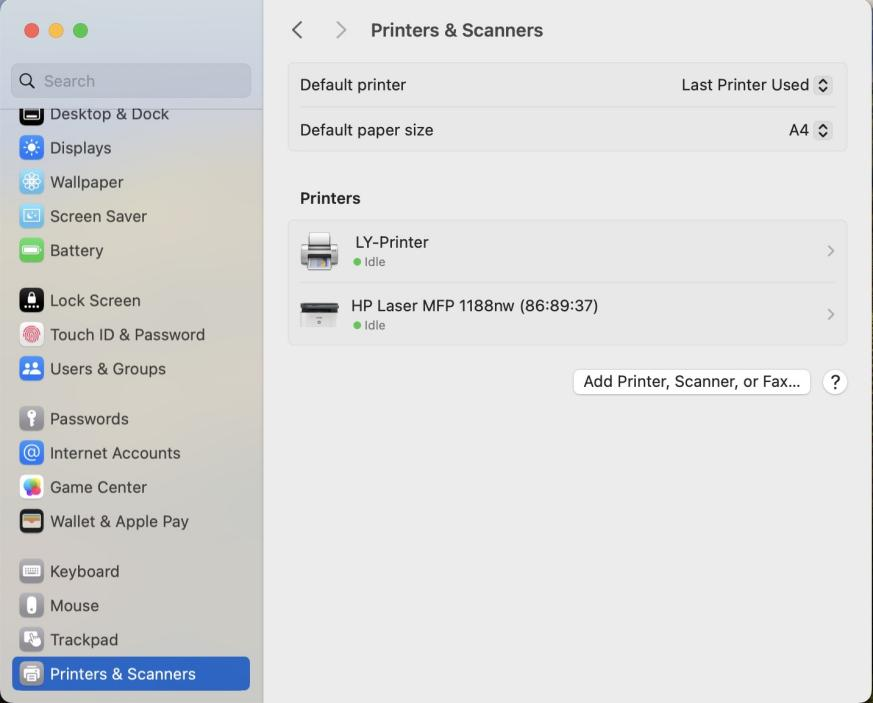
Step 1: Access Printer Settings
- Open “System Preferences” or “System Settings”
- Look for “Printers & Scanners” section
- Click on it to open the printer management panel
Step 2: Add a New Printer
- Locate and click the ”+” (plus) button below the printer list
- This will open the printer discovery dialog
- Your available printers will start to display
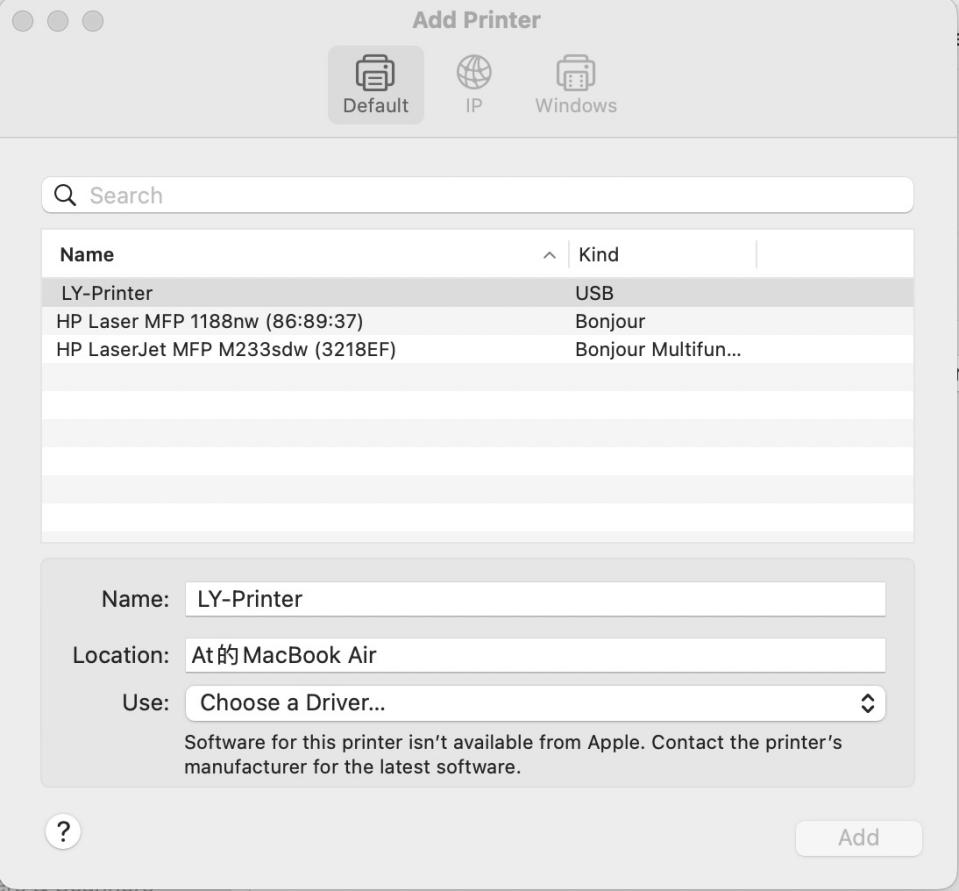
Step 3: Connect Your Printer
- Power on your A4 printer
- Use the original USB cable to connect the printer to your Mac
- Wait a moment for the printer to be detected
- When discovered, select “LY-Printer” from the available devices list
Important Note: If your printer doesn’t appear, try re-seating the USB cable, then return to the previous step and refresh the list.

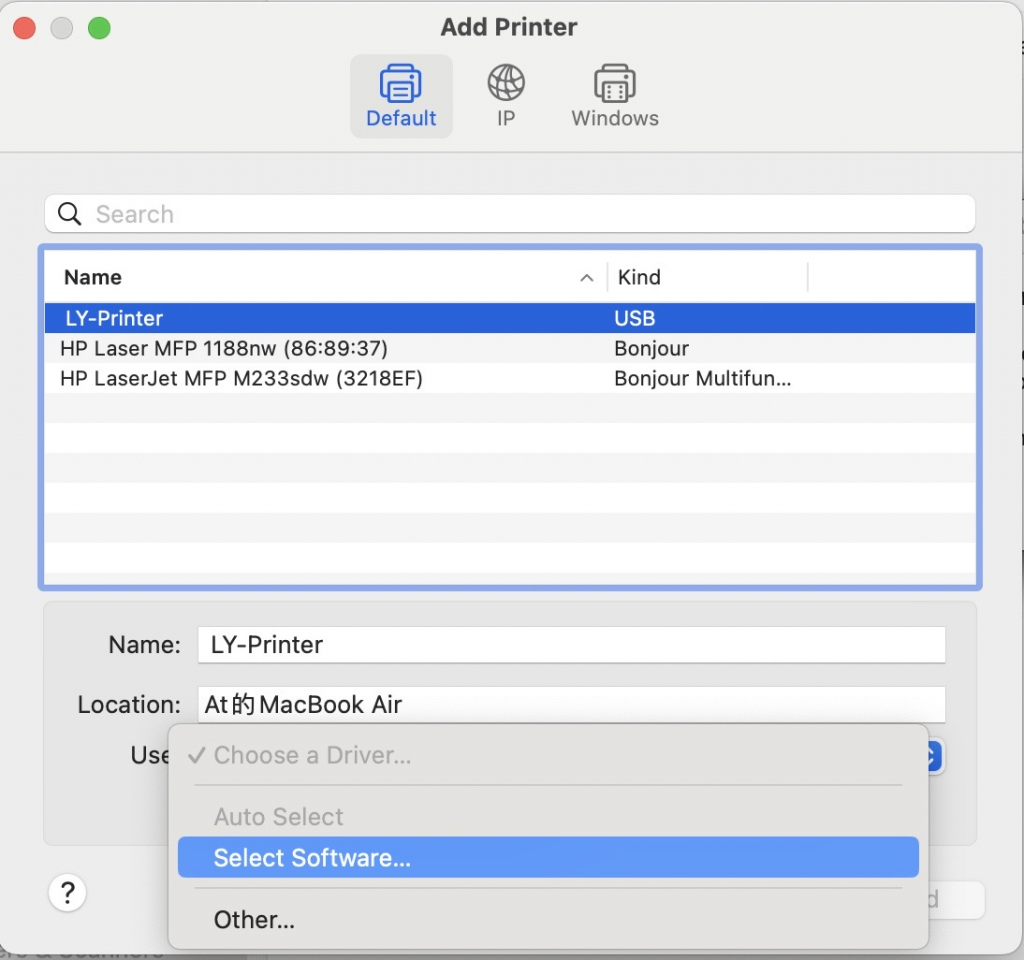
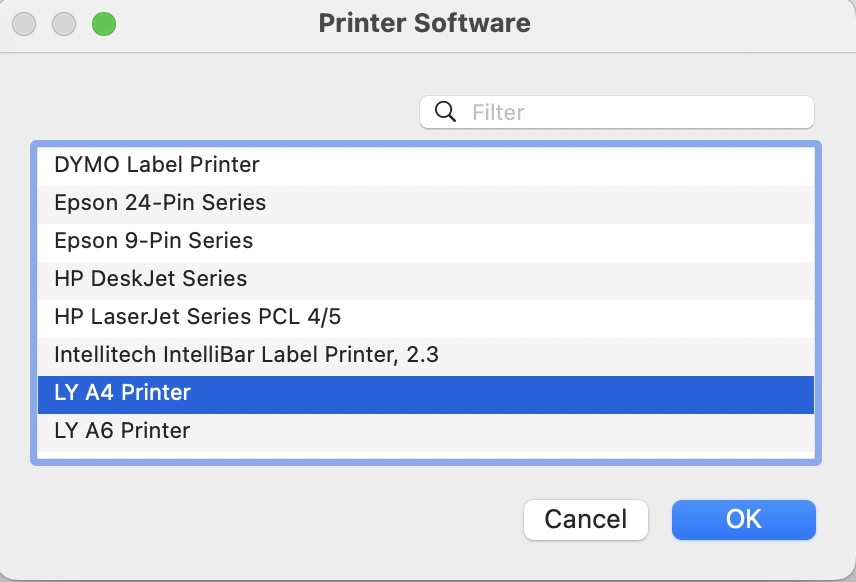
Step 4: Select the Correct Driver
- The system will prompt you to choose a driver or software
- From the available options, select “LY A4 Printer”
- This ensures compatibility with your specific printer model
Step 5: Complete the Setup
- Click “OK” or “Add” to finalize the printer addition
- The printer will appear in your Printers & Scanners list
- Your printer is now ready for use
4. Configuring Print Settings
Basic Print Setup
- Open the document or image you want to print in any application
- Click the “File” menu at the top of the application window
- Select “Print” from the dropdown menu
- The print dialog will open
Printer Selection
- In the print dialog, verify that “LY A4 Printer” is selected in the printer dropdown
- This confirms you’re using the correct printer device
Paper & Quality Settings
Configure these options based on your needs:
-
Paper Type: Select the appropriate paper loaded in your printer
- Standard paper for regular documents
- Photo paper for images
- Custom settings for specialty media
-
Print Quality: Adjust resolution and intensity
- Higher quality for photos and detailed documents
- Standard quality for regular office documents
- Draft mode for quick proofs
-
Color Settings:
- For color printers, select color or grayscale as needed
- Adjust saturation if available
Advanced Options
For additional control:
-
Check if your printer driver offers advanced settings
-
Some drivers include options for:
- Color calibration
- Brightness and contrast adjustment
- Dithering algorithms for better image quality
-
Make adjustments gradually and test with sample prints
5. Printing Your First Document
Once everything is configured:
- Verify the document or image is open and ready
- Open the print dialog again
- Confirm all settings are correct
- Click “Print” to start printing
- Wait for the print job to complete
- Verify the output quality and adjust settings if needed
Tips for Best Results
- Initial Testing: Print a test page with default settings first, then customize as needed
- Paper Quality: The type and quality of paper significantly affect final output
- Temperature: Keep your printer in a climate-controlled environment for best results
- Maintenance: Regularly clean the print heads and check for paper jams
- Driver Updates: Check the official website periodically for driver updates
- Compatibility: Ensure you’re using the correct A4 printer driver matching your specific model
Troubleshooting
Q: The printer doesn’t appear when I plug in the USB cable A: Try these steps in order:
- Disconnect the USB cable
- Restart your Mac
- Reconnect the printer with the original USB cable
- Open Printers & Scanners again and click the ”+” button
Q: I get a security prompt about the unidentified developer A: This is normal for third-party drivers. Go to System Preferences > Security & Privacy and click “Allow” next to the driver installer.
Q: Print quality is poor or very light A: Check your print quality settings and consider:
- Adjusting the print density or intensity
- Cleaning the printer’s print heads
- Using higher quality paper
- Testing different driver settings
Q: The printer was added but won’t print A: Try these solutions:
- Verify the correct driver is installed (LY A4 Printer)
- Disconnect and reconnect the USB cable
- Remove the printer from Printers & Scanners and re-add it
- Restart your Mac and try again
Q: Can I print wirelessly instead of using USB? A: Check if your specific printer model supports Bluetooth or network printing. If supported, consult your printer’s documentation for wireless setup instructions.
For more tutorials and support resources, visit our complete tutorials collection.